Get your tool live on gtm.brincdrones.com
A short walkthrough for adding your projects to the team's internal site — built on GitLab + Cloudflare Pages + Cloudflare Access. You don't need to be a developer to use it. If you can drag a file into a browser, you can ship to the portal.
Get access to the GitLab project
Five-minute, one-time step. You only do this the very first time.
The portal lives in a single GitLab repo: BRINC / Go To Market / gtm internal site. Access is invite-only — DM David Benowitz on Slack (or email david.benowitz@brincdrones.com) and ask to be added as a contributor.
What you'll get:
- A GitLab login with developer access to the repo
- An invite to
#gtm-internal-siteon Slack for questions and announcements
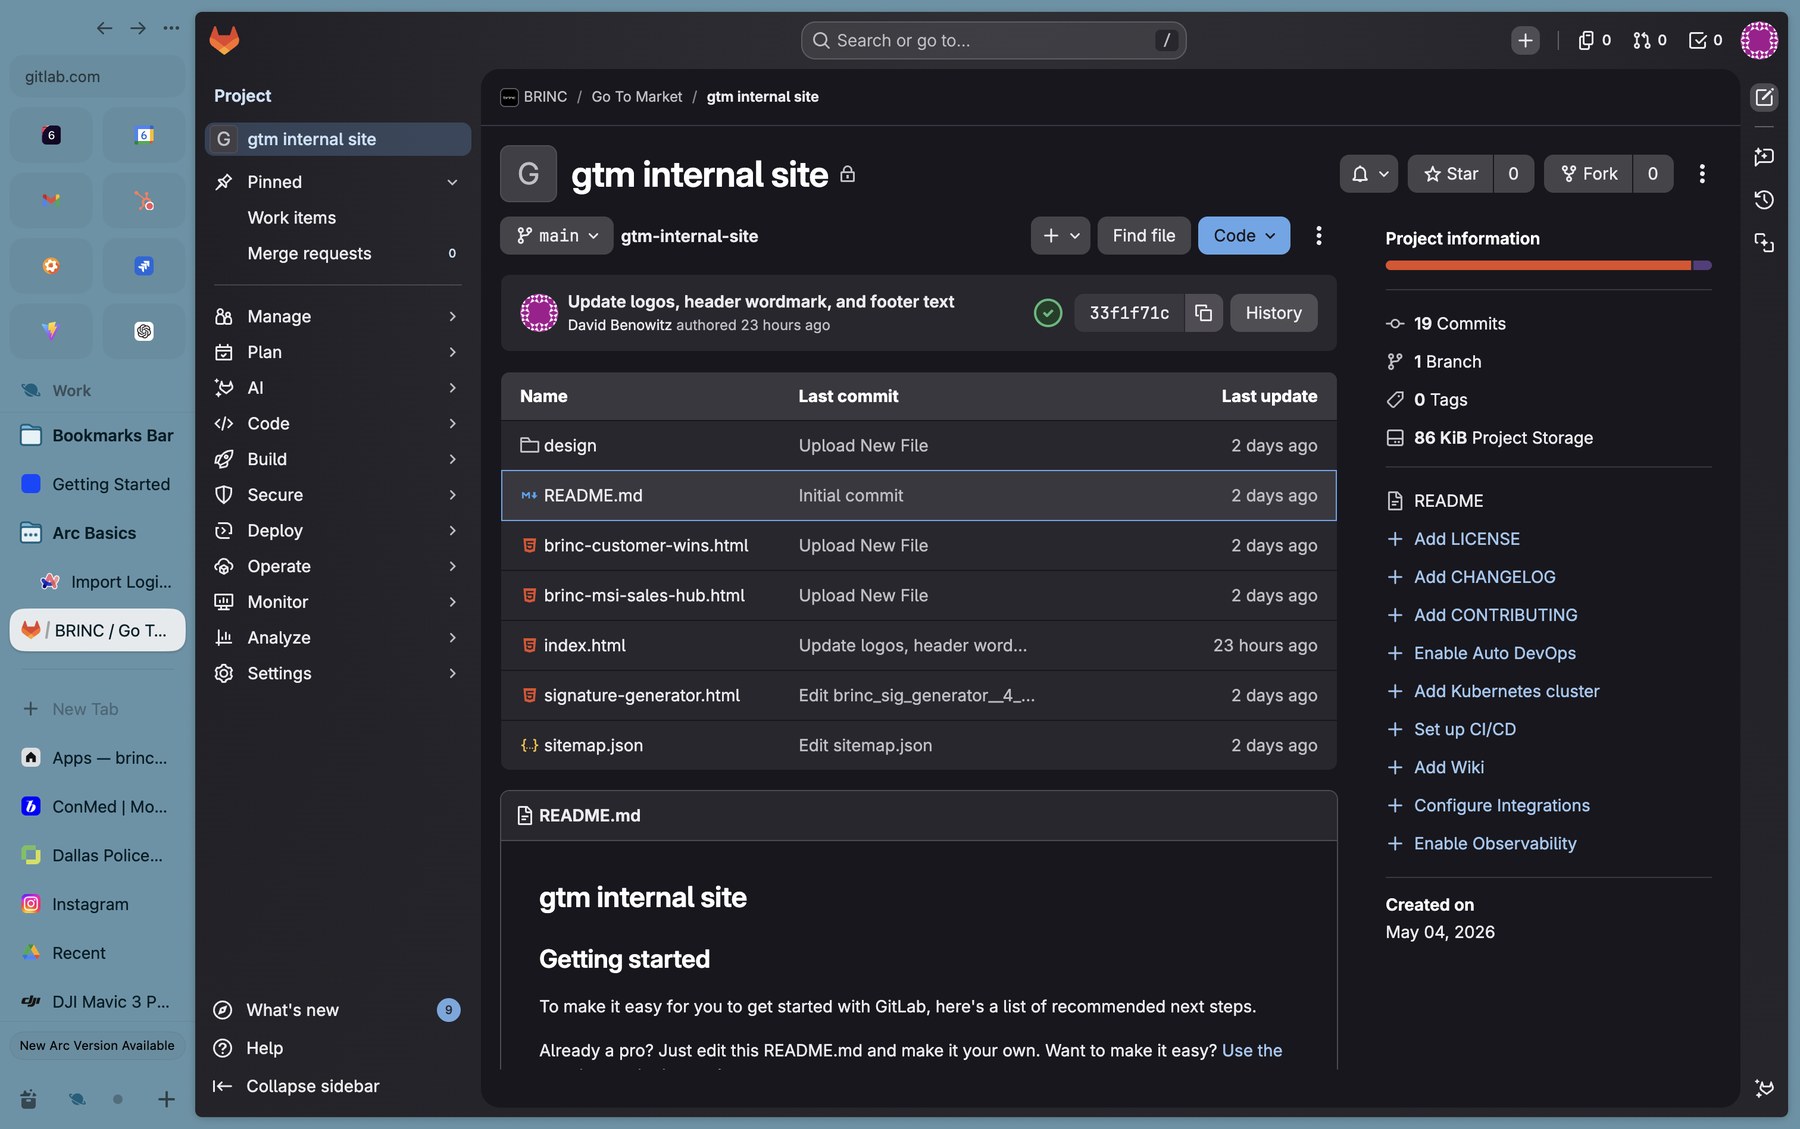
Adding files to GitLab
Pick whichever path matches your comfort level — both produce identical results.
gtm.brincdrones.com.A · Drag & drop in the browser Easiest
Best for one-off HTML files or when you just want to ship a quick update. No tools to install.
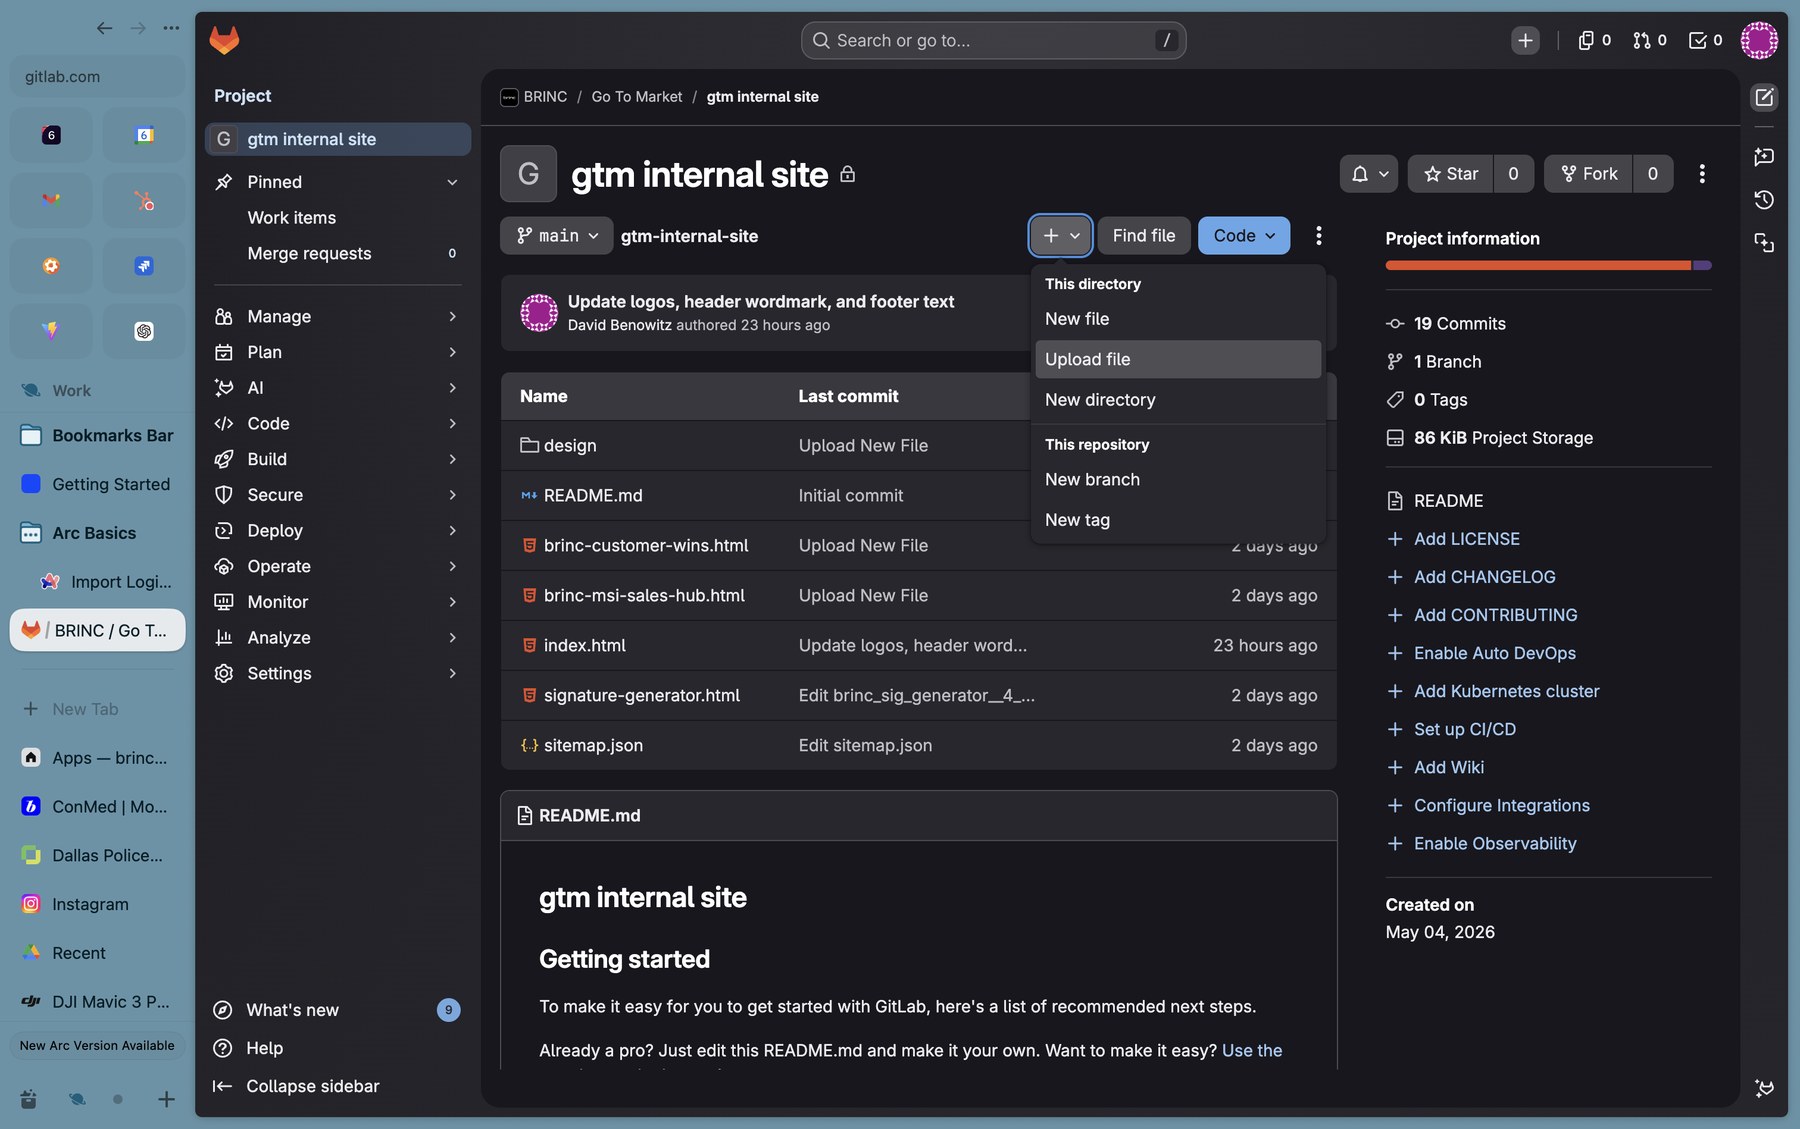
- Open the repo, click the + button next to the branch picker
- Choose Upload file (or Upload directory) and drop your file in
- Add a short commit message and click Commit changes
B · Push from a Git client More flexible
Better if you'll be iterating a lot, want history locally, or are working with multiple files at once.
- Install GitHub Desktop — yes, it works fine with GitLab
- Clone the repo URL into it, drop your files into the local folder
- Write a commit message → Commit to main → Push origin
If you go the drag-and-drop route, the upload menu looks like this:
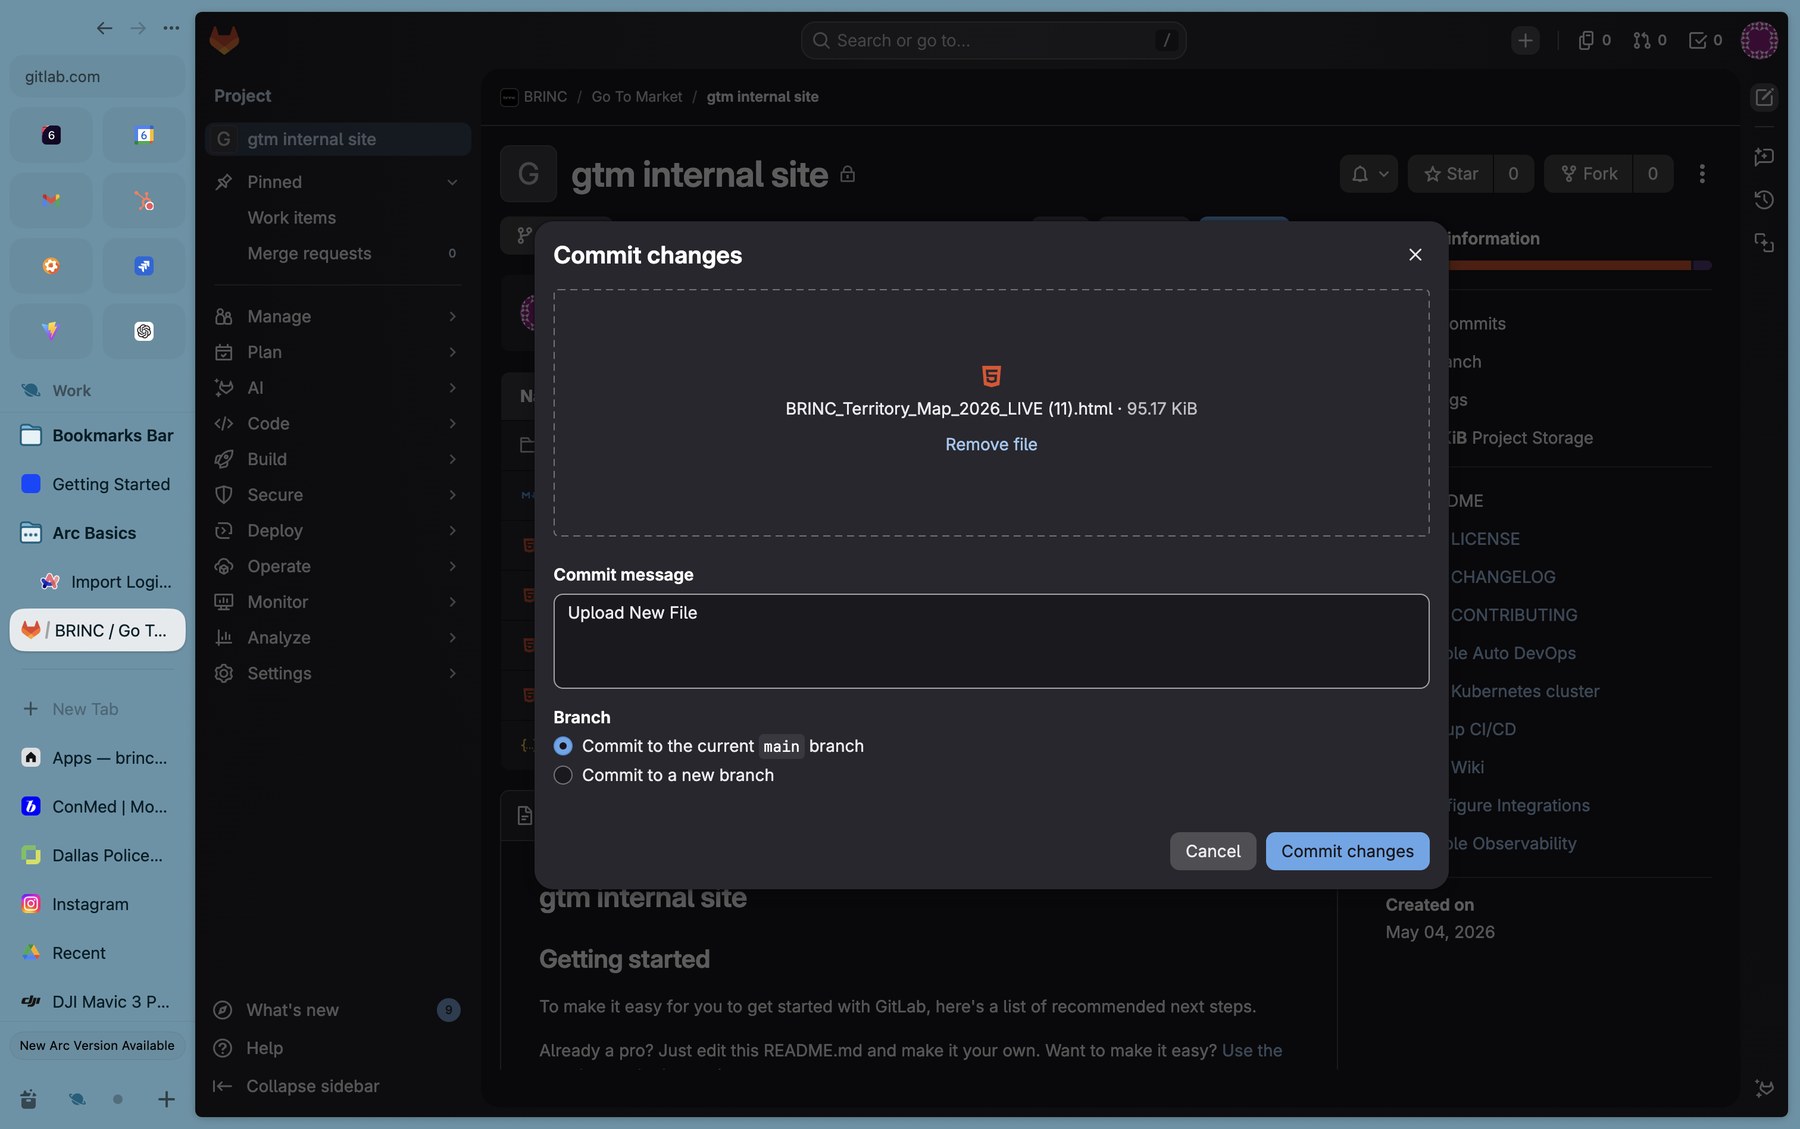
main branch selected — that's what triggers the deploy.my-tool.html, it'll be live at gtm.brincdrones.com/my-tool.html. Stick to lowercase and hyphens — no spaces.
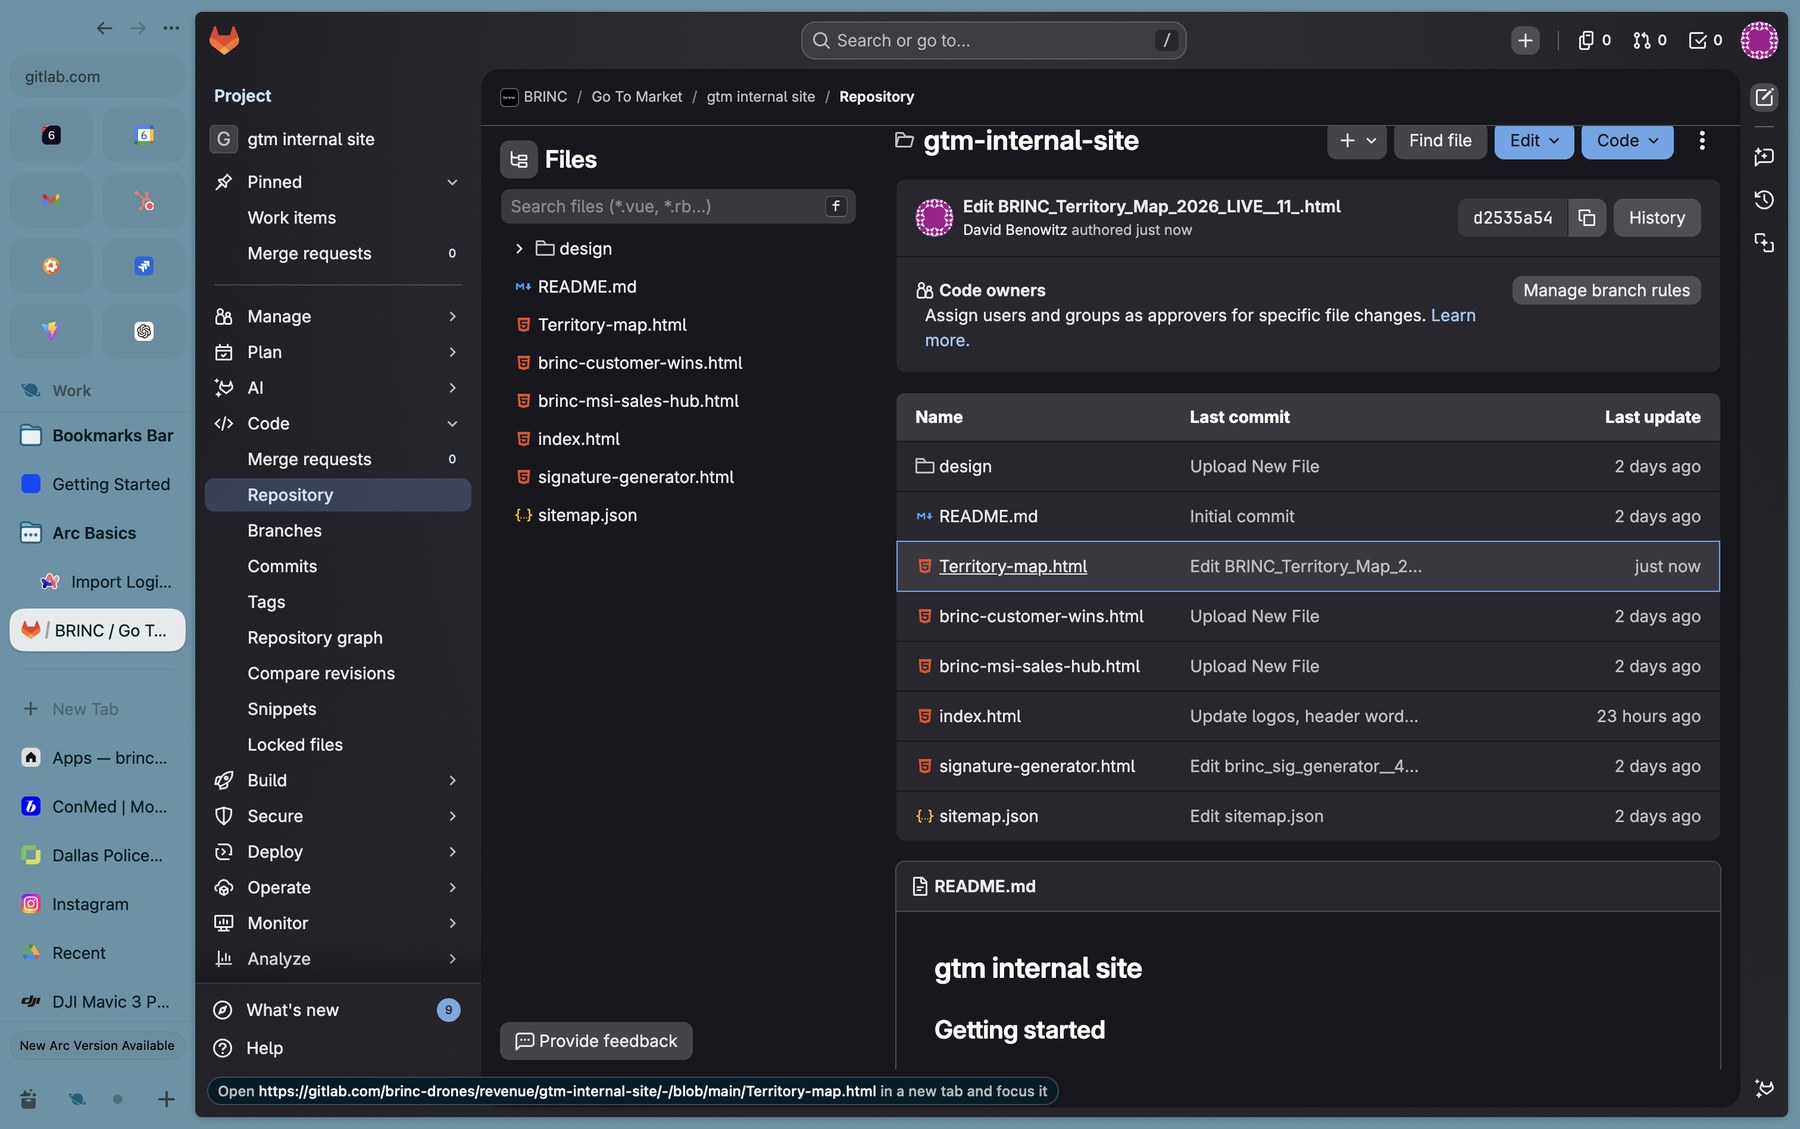
After the commit, the file shows up alongside everything else, with "just now" as the last update:
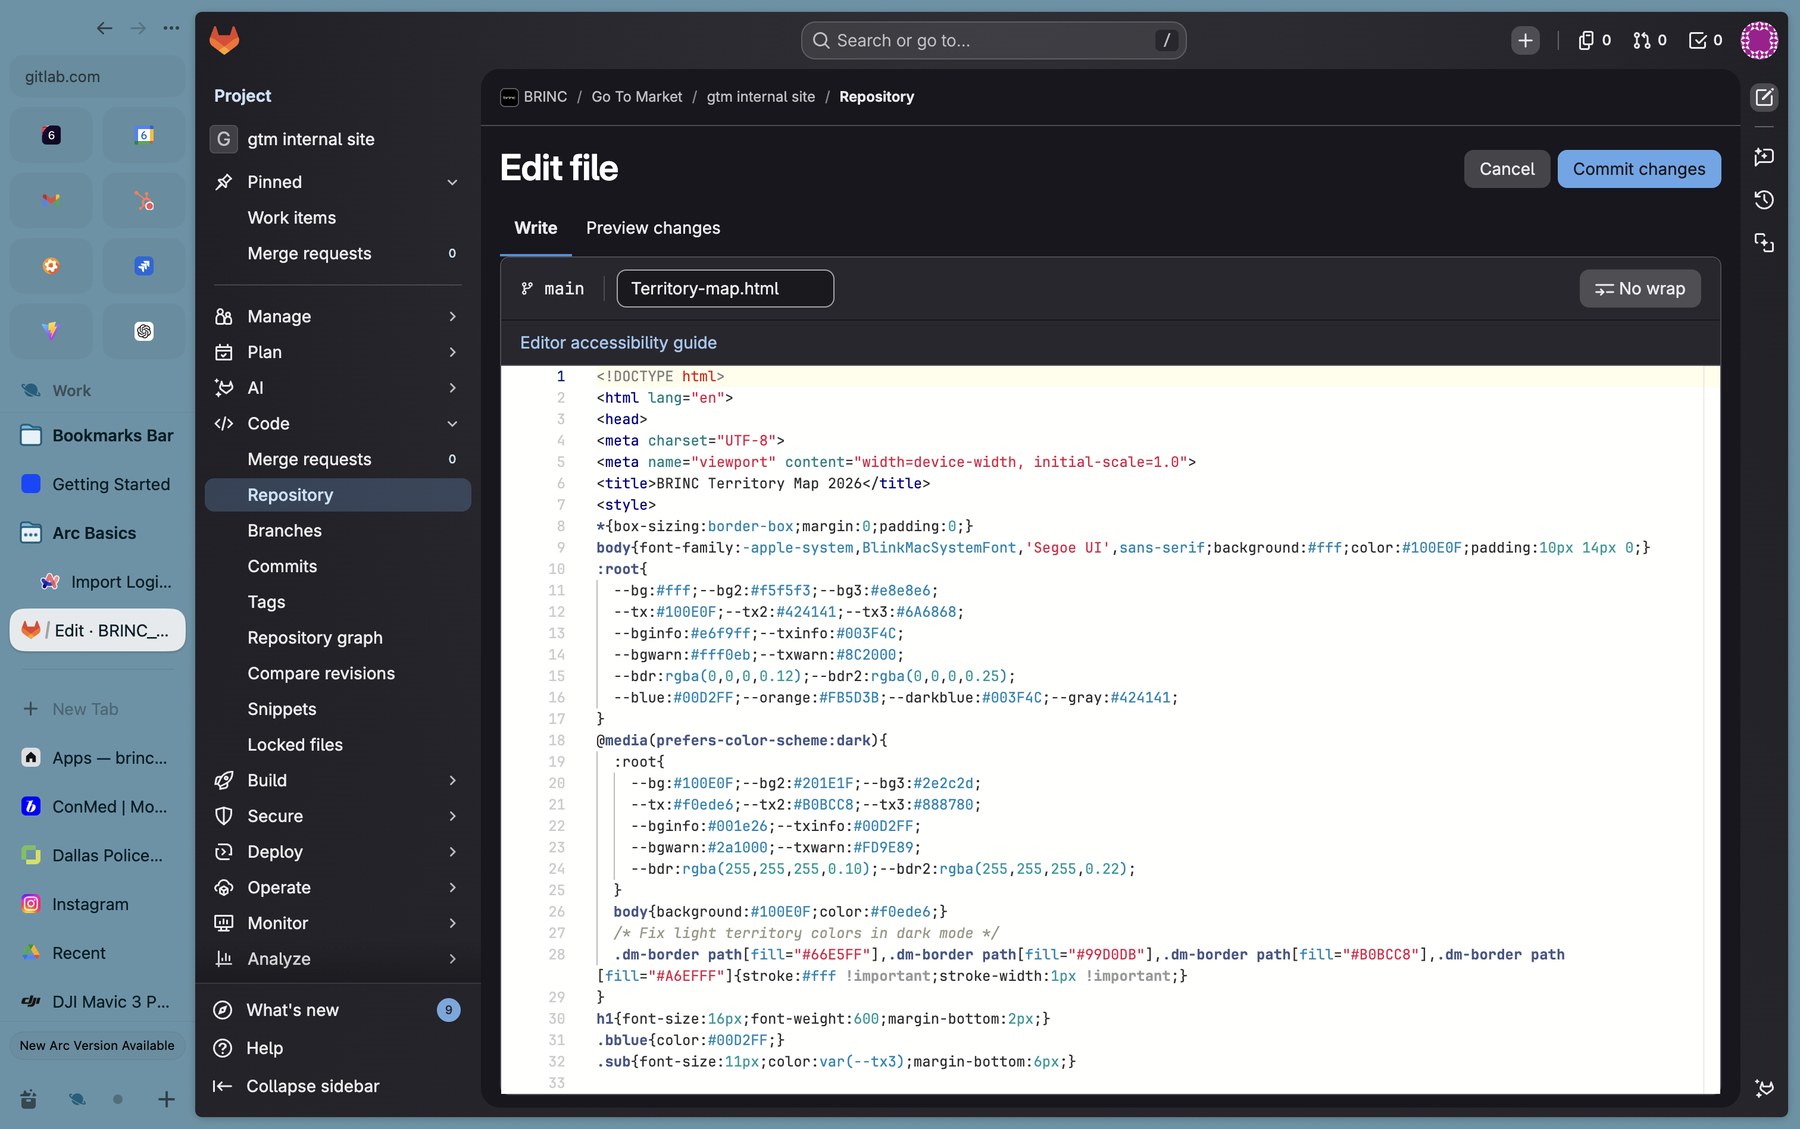
Need to tweak something inline? Click any file and use Edit to make changes right in the browser:
Single files vs. directories
When to drop one HTML file in the root, and when to give your project its own folder.
One-off HTML file
If your tool is a self-contained single page — all CSS, JS, and assets inlined or hot-linked from a CDN — just drop the .html in the repo root.
- URL:
gtm.brincdrones.com/your-file.html - Examples in repo:
signature-generator.html,brinc-customer-wins.html
Directory (multi-file project)
If you have separate CSS, JS, images, sub-pages, or anything that wouldn't fit cleanly in one HTML, give it its own folder with an index.html inside.
- URL:
gtm.brincdrones.com/your-folder/ - Example in repo:
design/(the BRINC Design Framework)
gtm-internal-site/
├── index.html                  ← the portal homepage (don't touch)
├── sitemap.json                ← register your project here
├── brinc-customer-wins.html    ← single-file tool
├── signature-generator.html    ← single-file tool
├── Territory-map.html          ← single-file tool
└── design/                     ← multi-file project (folder)
    └── index.html
Update sitemap.json so your project is discoverable
Without this, your file is live but won't show up as a card on the homepage.
The portal homepage reads from sitemap.json to render its grid of cards. Add an entry for your project, commit, and you'll
get a card linking to it — filtered by category, tagged, optionally marked "New".
![The sitemap.json file open in GitLab, showing the JSON structure with entries for design, brinc-signature, and a new territory-map entry with title 'Territory Map', URL 'Territory-map.html', category 'sales', tags ['Territory', 'Sales', 'Maps'], badge 'New', and badgeColor '#00d2ff'.](images/07-sitemap-territory-added.jpg)
"pages" array.Copy this template, paste it as a new entry in the "pages" array, and edit the values:
{
  "id": "your-project-id",
  "title": "Your Project Title",
  "description": "One-sentence pitch — what this is and who it's for.",
  "url": "your-file-name.html",
  "category": "sales",
  "tags": ["Tag1", "Tag2"],
  "icon": "",
  "badge": "New",
  "badgeColor": "#00d2ff"
}
Field reference
id— unique slug, lowercase with hyphens. Used internally.title— what shows up on the card.description— one short line. Aim for ~10–15 words.url— relative path. Eitheryour-file.htmloryour-folder/(with the trailing slash).category— one ofsales,customer-success,marketing,training. Powers the filter chips on the homepage.tags— an array of short labels shown on the card.icon— an emoji. Keeps cards scannable at a glance.badge— optional small label, like "New" or "Beta". Set tonullif you don't want one.badgeColor— hex color for the badge background.#00d2ffis BRINC blue.
Need a quick win? Open sitemap.json in GitLab's web editor, paste your entry, and let GitLab Duo (the built-in AI assistant) sanity-check it before you commit:
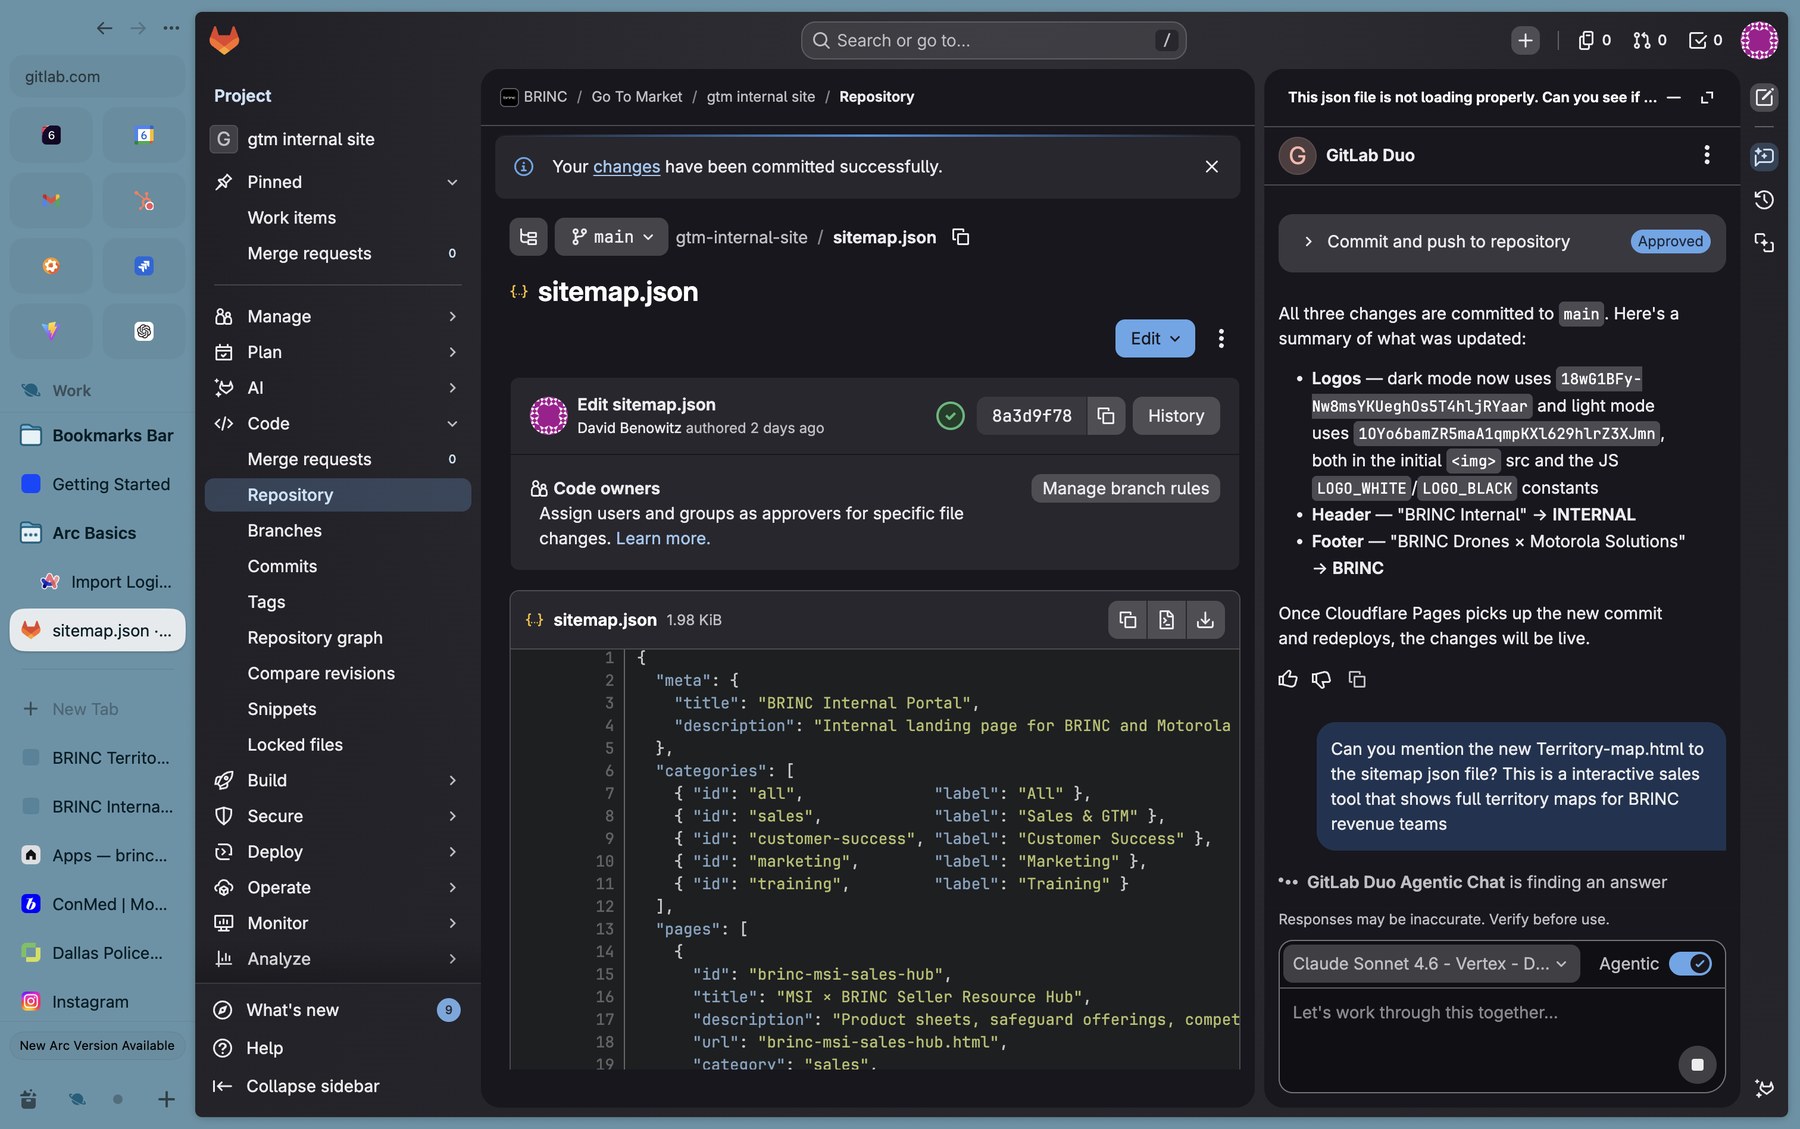
sitemap.json.What happens after you commit
A peek at the deploy pipeline so the magic feels less magical.
Total wall-clock time from "commit" to "live link works": typically under 3 minutes. If it's been longer than 5 minutes and you don't see your update, check the #gtm-internal-site channel — the deploy may have stalled and we'll need to retrigger.
gtm.brincdrones.com, look for your card, and click through. If the card's there and the link 404s, you've probably got a typo between the file name and the url field in sitemap.json.
Help & conventions
- Stuck? Drop a note in #gtm-internal-site on Slack — there's a small group of contributors there who can unblock you fast.
- Need a walkthrough? David is happy to screenshare — DM him to grab time.
- Want to add a new category (besides Sales, Customer Success, Marketing, Training)? Propose it in Slack first — it's a quick edit but we want to keep the homepage filters tight.
- Don't gatekeep. If you've got an idea for a tool, build it and ship it. The whole point of this portal is to make team-built work easy to find.
title field. Keep descriptions to one short sentence — the homepage card has limited room.